Deploy WordPress on K8s; Kubernetes & WP
In this post, you will learn to deploy WordPress on k8s (Kubernetes) managed from DigitalOcean. WordPress is a popular content management system (CMS) for creating websites easily. By using PHP and MySQL to support WordPress in building a content management system, we can create many websites, blogs, and other website-based applications by learning how to deploy WordPress on Kubernetes nodes.
You can install WordPress on your own server and register on the WordPress site. After this, you will be able to do that easily.
Prepare Kubernetes Cluster To Deploy WordPress
In this tutorial, we use a Kubernetes managed service from DigitalOcean to run WordPress on Kubernetes. I have already set up the nodes on DigitalOcean; you need to prepare kubectl tools to make the Kubernetes nodes remotely.
You can see a tutorial for installing kubectl on Kubernetes.io for all Platform OS. Then, on the DigitalOcean dashboard, you will see the guide on how to import config Kubernetes nodes.
I have imported the config from the Kubernetes nodes mentioned; this can be verified using the command below.
$ kubectl get nodes
NAME                      STATUS   ROLES    AGE    VERSION
sgx-do-kubernetes-u41z8   Ready    <none>   139m   v1.21.9
sgx-do-kubernetes-u41zu   Ready    <none>   139m   v1.21.9
Install ingress Nginx
The Kubernetes nodes are ready to deploy applications in this step. But, you must still set up an ingress controller for the load-balance TCP service on the container pods. I will use helm to install the ingress controller Nginx on the nodes. Therefore, you can visit the helm website for installation.
$ helm upgrade --install ingress-nginx ingress-nginx \
>   --repo https://kubernetes.github.io/ingress-nginx \
>   --namespace ingress-nginx --create-namespace
Congratulations! You have successfully installed the ingress controller Nginx– the first step is already down. Now, the next step is pointing the IP from ingress to your domain.
Then, you can use the domain wordpress.you_domain.com to be the Public IP Ingress!
Install Cert-Manager
We use cert-manager to manage and create certificate SSL. Using cert-manager, we can create “SSL letsencrypt.”
Letsencrypt is reliable to our website become secure connections. We use jetstack repository to install cert-manager. If you install jetstack, the first step is to update the jetstack repository.
$ helm repo add jetstack https://charts.jetstack.io
"jetstack" has been added to your repositories
After that, the first time you update the jetstack repository using helm, you can update helm repository to install the cert-manager.
$ helm repo update
Hang tight while we grab the latest from your chart repositories...
...Successfully got an update from the "jetstack" chart repository
Update Complete. ⎈Happy Helming!⎈
By now, you have already prepared helm and repository to install cert-manager. At this step, the cert-manager requires CRD to run properly.
$ helm install \
>   cert-manager jetstack/cert-manager \
>   --namespace cert-manager \
>   --create-namespace \
>   --version v1.7.1 \
>   --set installCRDs=true
Prepare Secret to Deploy WordPress
To run pods properly, you can prepare a secret generator which you will have to configure in the kustomizaton.yaml. This secret contains sensitive information about passwords and databases for MySQL and WordPress.
At this point, create a kustomization.yaml file using any text editor you like. Then, you can fill in a password with high security or one you prefer.
secretGenerator:
- name: mysql-password
  literals:
  - password=Mysql.Root2021@
- name: mysql-user
  literals:
  - username=userwp
- name: mysql-user-password
  literals:
  - passworduser=Mysql.User2021@
- name: mysql-database
  literals:
  - database=multitenant_wp
I have created a secret generator on kustomization.yaml; later, I will deploy the secret generator into the Kubernetes node.
$ kubectl apply -k .
secret/mysql-database-4f74mgddt5 created
secret/mysql-password-f547bhm8mc created
secret/mysql-user-4t5mcf8dkm created
secret/mysql-user-password-9m7k5b4k2m created
Volume in the Kubernetes
Volume in Kubernetes has two resources namely PersistentVolume and PersistentVolumeClaim. PersistentVolume is storage defined by the administrator as a storage container for applications to save data applications created on a Kubernetes cluster or a cloud provider that provides volume storage.
A PersistentVolumeClaim is a type of storage, like pods, that consumes resources in Kubernetes such as memory and CPU– that can claim the size and access mode to create volumes with specific access modes. PersistentVolumeClaim can be configured as read-write or read-only access.
In the next step, we need to create a persistent volume and persistent claim volume which is used to store MySQL database and WordPress files.
How to Create MySQL Volumes
Initially, create a PersistentVolume with the filename mysql-pv-volume.yaml for the MySQL database.
apiVersion: v1
kind: PersistentVolume
metadata:
  name: mysql-pv
spec:
  storageClassName: do-block-storage
  capacity:
    storage: 20Gi
  accessModes:
    - ReadWriteOnce
  hostPath:
    path: "/var/lib/mysql"
Then, create a PersistentVolumeClaim, named as mysql-pv-claim.yaml.
apiVersion: v1
kind: PersistentVolumeClaim
metadata:
  name: mysql-pv-claim
spec:
  storageClassName: do-block-storage
  accessModes:
    - ReadWriteOnce
  resources:
    requests:
      storage: 20Gi
Cool! How about deploying the volumes now?
Well, let’s deploy both MySQL PersistentVolume files to the Kubernetes service now!
$ kubectl apply -f mysql-pv-volume.yaml
persistentvolume/mysql-pv created
$ kubectl apply -f mysql-pv-claim.yaml
persistentvolumeclaim/mysql-pv-claim created
To see that they have been deployed on Kubernetes, use this command below.
$ kubectl get pv
Deploying More WordPress Volumes
Create a file named wordpress-pv-volume.yaml to make a PersistentVolume WordPress in the Kubernetes nodes so that we can store files and images for the WordPress container.
apiVersion: v1
kind: PersistentVolume
metadata:
  name: wordpress-pv
spec:
  storageClassName: do-block-storage
  capacity:
    storage: 30Gi
  accessModes:
    - ReadWriteOnce
  hostPath:
    path: "/var/www"
Create a file named wordpress-pv-claim.yaml for creating PersistentVolumeClaim on WordPress.
apiVersion: v1
kind: PersistentVolumeClaim
metadata:
  name: wordpress-pv-claim
spec:
  storageClassName: do-block-storage
  accessModes:
    - ReadWriteOnce
  resources:
    requests:
      storage: 30Gi
Deploy the persistent volume storage that we created for WordPress to Kubernetes nodes.
$ kubectl apply -f wordpress-pv-volume.yaml
persistentvolume/wordpress-pv created
$ kubectl apply -f wordpress-pv-claim.yaml
persistentvolumeclaim/wordpress-pv-claim created
Let’s see the PersistentVolume WordPress using this command.
$ kubectl get pv
Secret in Kubernetes
Secret in Kubernetes is a crucial part that stores password, token or key information. Storing secret very important information into a secret makes it more secure and secure and flexible when compared to what we define in pods in Kubernetes. To use secret pods, Kubernetes must define a secret for a service.
Configure Secret to MySQL Service
It’s time we configure the secret on MySQL service, create a yaml file mysql-service.yaml. Let’s add the secret we have created.
We need to check the secret on the nodes, for that check the secret using the command “kubectl describe secret “. Match secret with name secretKeyRef in yaml config.
apiVersion: v1
kind: Service
metadata:
  name: mysql-wp
spec:
  ports:
    - port: 3306
  selector:
    app: wordpress
    tier: mysql
---
apiVersion: apps/v1
kind: Deployment
metadata:
  name: mysql-wp
spec:
  selector:
    matchLabels:
      app: wordpress
      tier: mysql
  strategy:
    type: Recreate
  template:
    metadata:
      labels:
        app: wordpress
        tier: mysql
    spec:
      containers:
      - image: mysql:latest
        name: mysql
        env:
        - name: MYSQL_ROOT_PASSWORD
          valueFrom:
            secretKeyRef:
              name: mysql-password-f547bhm8mc
              key: password
        - name: MYSQL_USER
          valueFrom:
            secretKeyRef:
              name: mysql-user-4t5mcf8dkm
              key: username
        - name: MYSQL_PASSWORD
          valueFrom:
            secretKeyRef:
              name: mysql-user-password-9m7k5b4k2m
              key: passworduser
        - name: MYSQL_DATABASE
          valueFrom:
            secretKeyRef:
              name: mysql-database-4f74mgddt5
              key: database
        ports:
        - containerPort: 3306
          name: mysql
        volumeMounts:
        - name: persistent-storage
          mountPath: /var/lib/mysql
      volumes:
      - name: persistent-storage
        persistentVolumeClaim:
          claimName: mysql-pv-claim
Make sure all the secret and services are adjusted, we just need to deploy mysql-service.yaml to kubernetes nodes.
$ kubectl apply -f mysql-service.yaml
service/mysql-wp created
deployment.apps/mysql-wp created
ConfigureSsecret to Deploy WordPress on K8s Service
You have already created a persistent storage volume and secret on nodes Kubernetes at this point. Now, let’s add a secret configuration to the WordPress service. Hence, create a service and deployment to deploy WordPress containers to Kubernetes nodes. Create a yaml configurationv file called wordpress-service.yaml. Match the secret with secretKeyRef on the Kubernetes nodes.
apiVersion: v1
kind: Service
metadata:
  name: wordpress
spec:
  ports:
    - port: 80
  selector:
    app: wordpress
    tier: web
  type: LoadBalancer

---
apiVersion: apps/v1
kind: Deployment
metadata:
  name: wordpress
spec:
  selector:
    matchLabels:
      app: wordpress
      tier: web
  strategy:
    type: Recreate
  template:
    metadata:
      labels:
        app: wordpress
        tier: web
    spec:
      containers:
      - image: wordpress:php8.1-apache
        name: wordpress
        env:
        - name: WORDPRESS_DB_HOST
          value: mysql-wp:3306
        - name: WORDPRESS_DB_PASSWORD
          valueFrom:
            secretKeyRef:
              name: mysql-user-password-9m7k5b4k2m
              key: passworduser
        - name: WORDPRESS_DB_USER
          valueFrom:
            secretKeyRef:
              name: mysql-user-4t5mcf8dkm
              key: username
        - name: WORDPRESS_DB_NAME
          valueFrom:
            secretKeyRef:
              name: mysql-database-4f74mgddt5
              key: database
        ports:
        - containerPort: 80
          name: wordpress
        volumeMounts:
        - name: persistent-storage
          mountPath: /var/www/html
      volumes:
      - name: persistent-storage
        persistentVolumeClaim:
          claimName: wordpress-pv-claim
Cool, cool! How about that? After all, since you have completed the WordPress deployment secret and service, you can deploy yaml config to Kubernetes nodes.
$ kubectl apply -f wordpress-service.yaml
service/wordpress created
deployment.apps/wordpress created
To check service WordPress and MySQL, you can use this command:

Configure letsencrypt to Deploy WordPress on K8s
In this part of this post, let’s create an SSL letsencrypt issuer on the Kubernetes nodes. The issuer will help us generate and renew letsencrypt certificates. Moreover, letsencrypt is useful to make a website secure. It provides open-source SSL certificates to create HTTPS on every website in the world. Then, let’s create a file called wp_production_issuer.yaml and fill this below.
apiVersion: cert-manager.io/v1
kind: ClusterIssuer
metadata:
  name: wp-prod-issuer
spec:
  acme:
    server: https://acme-v02.api.letsencrypt.org/directory
    email: [email protected]
    privateKeySecretRef:
      name: letsencrypt-prod
    solvers:
      - http01:
          ingress:
            class: nginx
After that, deploy wp_production_issuer.yaml on the Kubernetes nodes.
$ kubectl apply -f wp_production_issuer.yaml
clusterissuer.cert-manager.io/wp-prod-issuer created
Configure ingress HTTPS and Deploy WordPress on K8s
Since you have already deployed the issuer letsencrypt certificates to Kubernetes nodes, create an ingress so that WordPress can use the HTTPS. I have used domain wordpress.example.net in the ingress configuration which will use SSL letsencrypt so that the wordpress.example.net domain can be accessed using HTTPS. Firstly, we pointed the IP from the ingress controller Nginx to the destination domain to run the WordPress service. After that, create wordpress_ingress.yaml for configuring ingress WordPress.
apiVersion: networking.k8s.io/v1
kind: Ingress
metadata:
  name: wordpress
  annotations:
    kubernetes.io/ingress.class: "nginx"
    cert-manager.io/cluster-issuer: "wp-prod-issuer"
spec:
  rules:
  - host: wordpress.example.net
    http:
     paths:
     - path: "/"
       pathType: Prefix
       backend:
         service:
           name: wordpress
           port:
             number: 80
  tls:
  - hosts:
    - wordpress.example.net
    secretName: wordpress-tls
Deploy wordpress_ingress.yaml to Kubernetes nodes.
$ kubectl apply -f wordpress_ingress.yaml
ingress.networking.k8s.io/wordpress created
Deploy WordPress Successfully on Kubernetes
How about that? You have successfully configured WordPress and deployed it into Kubernetes. Now, it’s time for us to open the domain previously configured on ingress WordPress.
Use the domain wordpress.example.net for this. So, this can be opened on any browser. But first, make sure the WordPress application can run on our browser.
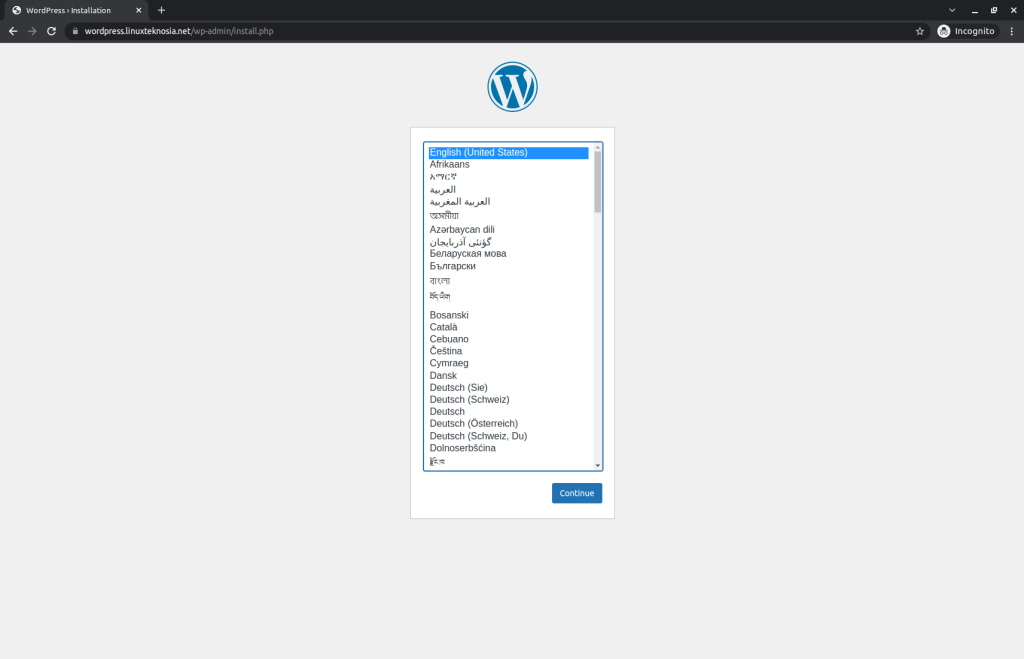
WordPress appears to be working fine as you can see in the image (if you face any errors, let me know in the comments). Then, choose the language. Select English and then continue.
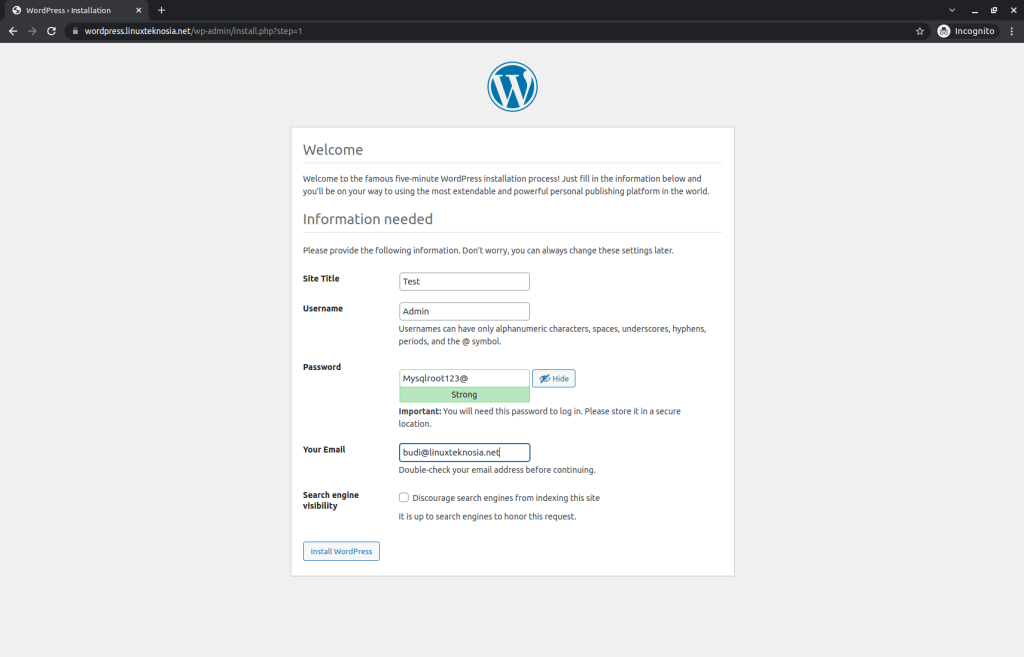
Then, it will appear to fill in the Site title, username, password, and email. You can also make your WordPress site not be indexable by search engines by checking the option at the bottom. After you have filled everything in according to your needs, proceed to finish installing WordPress.
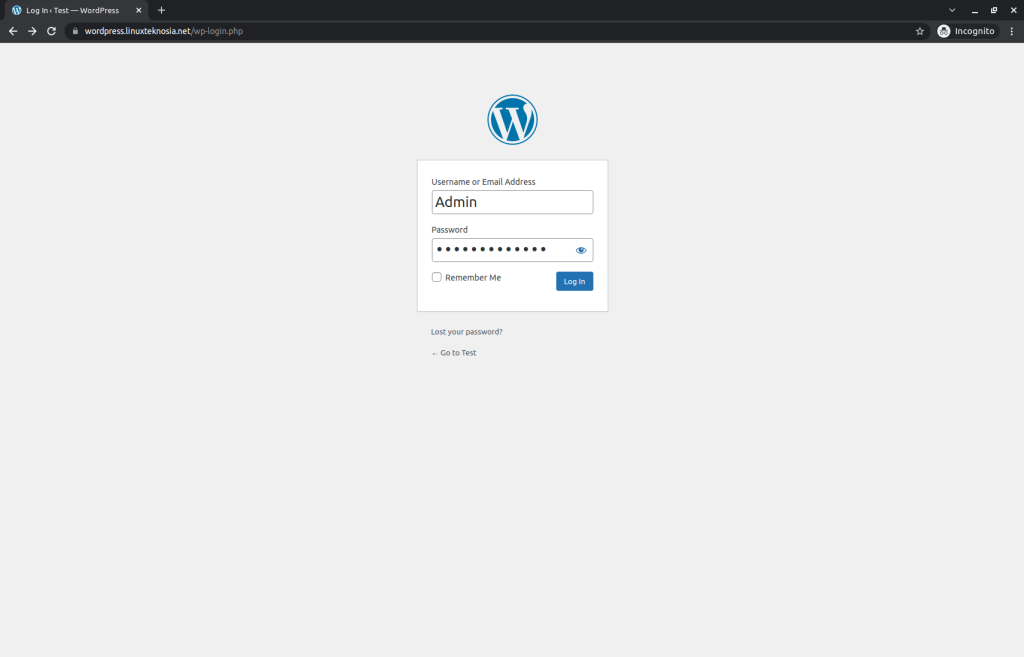
Can you log in to the WordPress site that you deployed on Kubernetes? If yes, it should look like the image shown below. If not, re-read this article and see if you made any mistakes. But if you still cannot fix it, let me know in the comments.

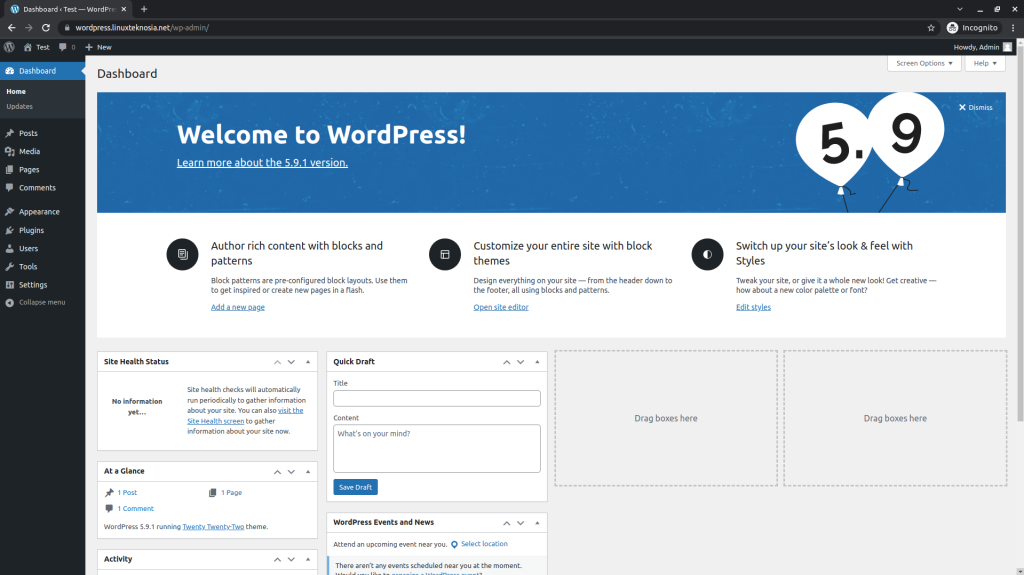
Congratulations, after logging in with the username and password created earlier, you should see the WordPress dashboard site. Therefore, you can work on it as you please now.
Conclusion
WordPress is a powerful content management system for us as landing pages and blogs, apart from being open source, we can also build WordPress anywhere and deploy WordPress on Kubernetes nodes. Isn’t that cool?
If we need a WordPress site with a high load, we can build WordPress on Kubernetes by adjusting the scaling of pods. Aside you can use the Horizontal Pod Autoscaler HPA to scale horizontally based on CPU and even other metrics. Kubernetes is very helpful for building highly loaded applications. If you don’t know how to set up Kubernetes on a Linux server, you can check this article Kubernetes: k8s setup and run apps before learning how to deploy WordPress on Kubernetes nodes. Let me plug something else; we also have a posts to deploy a Video Conferencing Platform using Jist in K8s.
In conclusion, if you liked this post or found it to be informative, please like it. Feel free to share it with your friends who may be just starting out or like working with WordPress or Kubernetes. Moreover, drop a comment with any queries you might have related to this post. I will do my best to answer all of you and help you.
Please let me know if you want to see more Kubernetes-related posts in the future? If not, what interests you?
Edited by: Syed Umar Bukhari