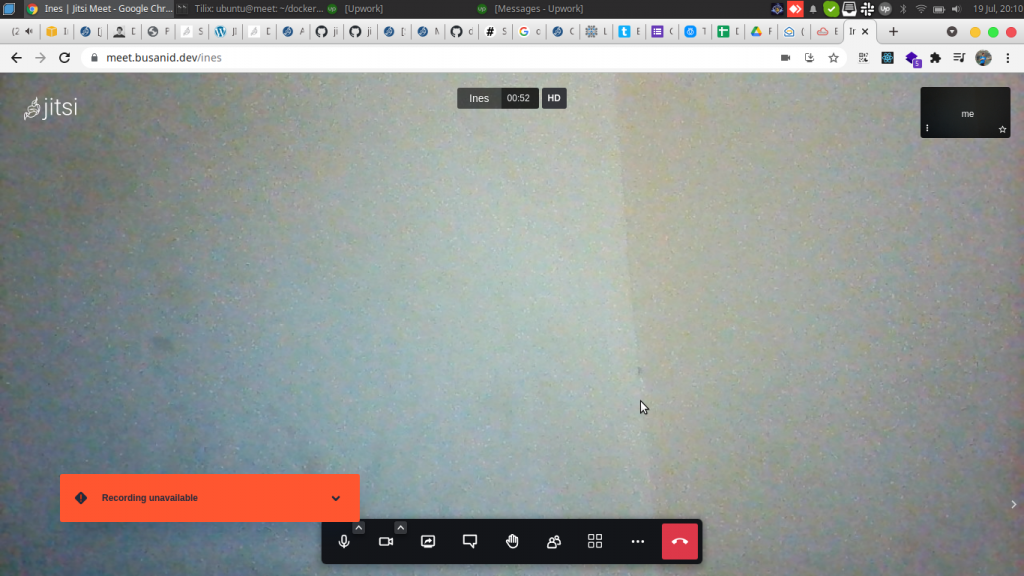
This post “Fixing jitsi recording unavailable on docker” was updated by: Syed Umar Bukhari on October 5, 2021
Many organizations and engineers are creating video conferencing apps during the covid-19 pandemic for online learning facilities, webinars, and for talking to loved ones– this is where Jitsi comes in. Jitsi is a free video conferencing alternative app to Zoom— it is also open source!
Why Should You Use A Video Conferencing App?
Conferencing apps have gained a major role lately; it is a need that one cannot miss out on anymore, especially during this pandemic. Because of these apps, you can meet and share tutorials, conduct business meetings, record your work plans, etc.
Also, the recording feature will always be important in building a video conferencing tool.
How To Enable Recording On Jitsi?
As a first step, let’s check the configuration on the server– so that Jitsi can create recordings during the conference.
Firstly, enable Jibri because it has a configuration for recordings to run well on Jitsi. If you don’t know how to install Jitsi on Docker yet, please read our article on Jitsi with Docker.
If recording is unavailable on Jitsi, check Github for Jitsi recording fails. To observe what happens to the Jibri container, check the container logs on Jibri (jibri logs) with:
docker-compose logs container_name
docker-compose -f docker-compose.yml -f jibri.yml logs jibri
As you can see, jibri logs have a problem in the container. After this, check the container process with a command that is is useful for viewing all running container processes:
docker-compose -f docker-compose -f jibri.yml ps
docker-compose -f docker-compose.yml -f jibri.yml ps
As you can see, the Jibri container is not running properly, since the container keeps restarting. If you see similar results, keep reading to understand and fix this error.
Fixing The Jibri Container
The first step to fixing the Jibri Container is checking the status of the alsa-loopback module on the server. Jibri uses this module to make recordings run fast on the server. Check alsa-loopback module with this command:
arecord
arecord -L
Checking The Kernel
As the alsa-loopback module doesn’t work properly, let’s check the kernel. The goal here is to find out if the generic kernel is installed or not.
uname -r
However, it looks like the generic kernel is already installed on the server. Hence, instead, try to enable the alsa-loopback module.
Activate it with this:
sudo modprobe snd-aloopAfter enabling the alsa-loopback module with modprobe, let’s check the server to see if the alsa-loopback module is active. To check the status, use this command:
arecord -LThis is useful for viewing the module’s driver– which is already active on the server.
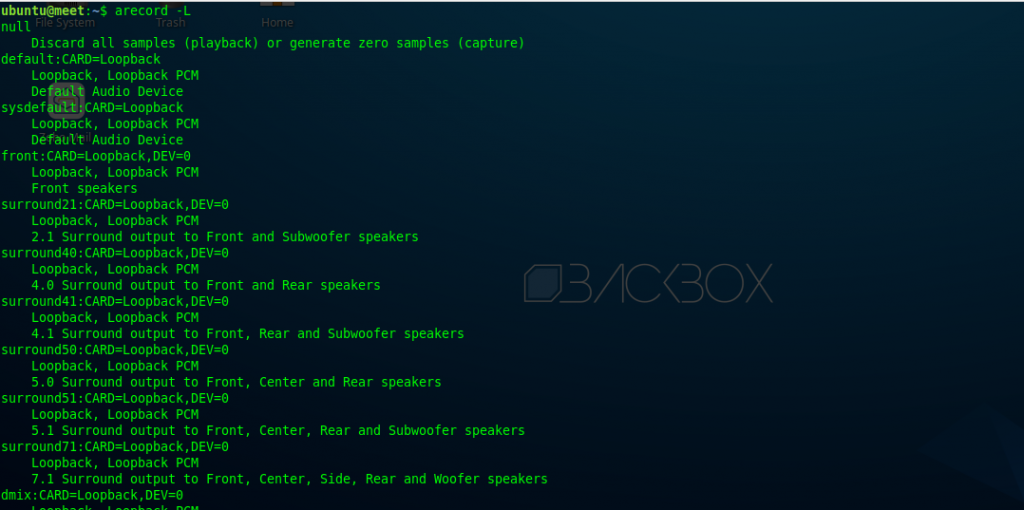
You can get the module running without modprobe on the server in a way that when you reboot the server, the module will still continue to run on the server.
Adding snd-aloop to the
~/etc/modules file
with the “echo and tee” command makes it easier to use.
echo snd-aloop | tee -a /etc/modules
Note: This issue with the lsa-loopback module is common as some cloud providers do not provide generic kernels capable of meeting Jitsi’s requirements. In this case, while we already had the generic kernel installed, the alsa-loopback module was not set active.
Configuration of Jibri
After that, update the config on jibri.yml– the file that is used to create a Jibri container.
version: '3'

services:
    jibri:
        image: jitsi/jibri:latest
        restart: ${RESTART_POLICY}
        volumes:
            - ${CONFIG}/jibri:/config:Z
            - /dev/shm:/dev/shm
        cap_add:
            - SYS_ADMIN
            - NET_BIND_SERVICE
        devices:
            - /dev/snd:/dev/snd
        environment:
            - PUBLIC_URL
            - XMPP_AUTH_DOMAIN
            - XMPP_INTERNAL_MUC_DOMAIN
            - XMPP_RECORDER_DOMAIN
            - XMPP_SERVER
            - XMPP_DOMAIN
            - JIBRI_XMPP_USER
            - JIBRI_XMPP_PASSWORD
            - JIBRI_BREWERY_MUC
            - JIBRI_RECORDER_USER
            - JIBRI_RECORDER_PASSWORD
            - JIBRI_RECORDING_DIR
            - JIBRI_FINALIZE_RECORDING_SCRIPT_PATH
            - JIBRI_STRIP_DOMAIN_JID
            - JIBRI_LOGS_DIR
            - DISPLAY=:0
            - TZ
        depends_on:
            - jicofo
        networks:
            meet.busanid.dev:
The file looks all set– only change the network in Docker to have it ready for use. The Docker network allows container network interconnectivity, using your domain.
Checking the ENV File
The env file stores variables and contains declarations of these variables that will eventually be loaded on the container.
These files are very important for configuring the environment in Jitsi. In the env file, you can make as many configurations as you see fit. But, keep in mind that this setting is called in Docker-Compose to be applied to the container.
For example, there are many variables to configure, such as public url, port, ssl, jvb, Jibri, etc.
For this part of the tutorial, configure the env file to use recordings in Docker. Therefore, edit the env configuration in Docker Jitsi. To do so, you must enable Rest API on JVB.
# A comma separated list of APIs to enable when the JVB is started [default: none]
# See https://github.com/jitsi/jitsi-videobridge/blob/master/doc/rest.md for more information
JVB_ENABLE_APIS=rest,colibri
This API helps the recording run on Docker Jitsi. Moreover, you need to enable recordings in Jitsi. So, to enable recordings, remove the fence in front of the variable ENABLE_RECORDING=1
# Enable recording
ENABLE_RECORDING=1
Set ENABLE_RECORDING=1 for feature recording on Jitsi can be enabled on the server.
This will bring up the recording menu when the moderator starts the meeting. Don’t forget to edit the XMPP domain name if you are using a different docker network than the default!
# XMPP domain for the jibri recorder
XMPP_RECORDER_DOMAIN=recorder.meet.busanid.dev

# XMPP recorder user for Jibri client connections
JIBRI_RECORDER_USER=recorder

# Directory for recordings inside Jibri container
JIBRI_RECORDING_DIR=/config/recordings

# The finalizing script. Will run after recording is complete
JIBRI_FINALIZE_RECORDING_SCRIPT_PATH=/config/finalize.sh

# XMPP user for Jibri client connections
JIBRI_XMPP_USER=jibri

# MUC name for the Jibri pool
JIBRI_BREWERY_MUC=jibribrewery

# MUC connection timeout
JIBRI_PENDING_TIMEOUT=90

# When jibri gets a request to start a service for a room, the room
# jid will look like: [email protected]_domain
# We'll build the url for the call by transforming that into:
# https://xmpp_domain/subdomain/roomName
# So if there are any prefixes in the jid (like jitsi meet, which
# has its participants join a muc at conference.xmpp_domain) then
# list that prefix here so it can be stripped out to generate
# the call url correctly
JIBRI_STRIP_DOMAIN_JID=muc
That looks good, right? Congratulations! You have now successfully configured the env file. What does that mean? The recordings can be used now!
In addition, it’s time to build a Docker Jitsi container using this command:
docker compose up -d.
docker-compose -f docker-compose.yml -f jibri.yml up -d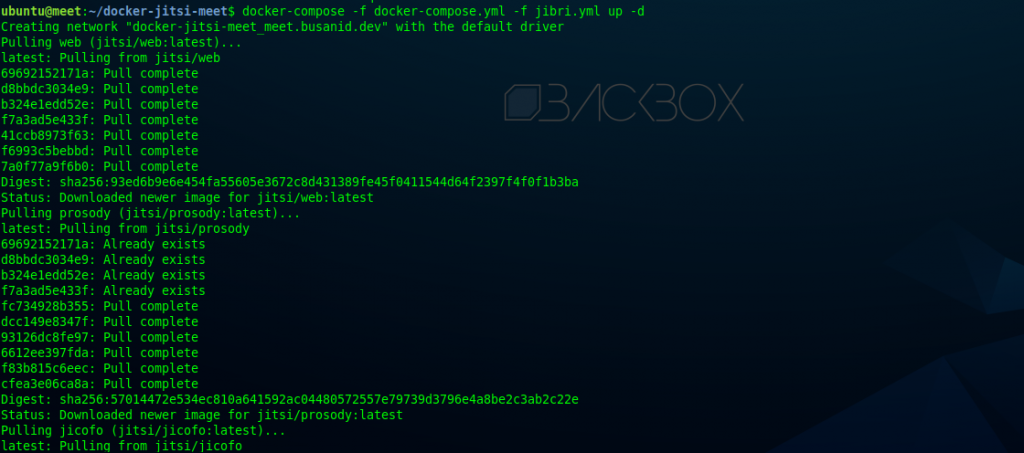
Wait until the process of building the Jitsi container is complete; when finished, re-check all the services running on the container with this command:
docker compose ps
docker-compose -f docker-compose.yml -f jibri.yml ps
Since the Jibri container is running fine, let’s look at the logs on the container with the following command::
docker compose logs
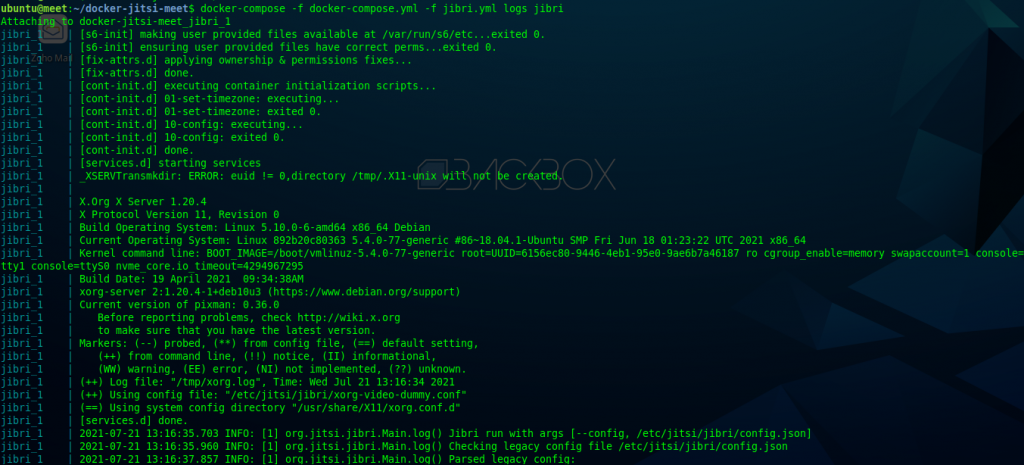
All looks ready to proceed to the last and final step: Jtisi Recording.
Jitsi Recording of a Conference
You should try conferencing using the Jitsi server to ensure everything is in working order.
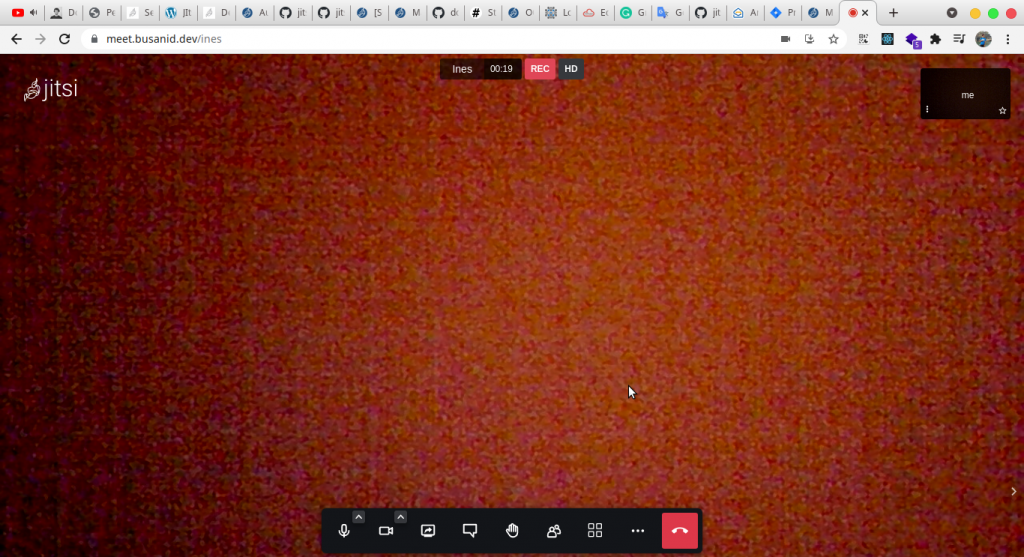
Recording on Jitsi is running well on our end; we’re assuming it’s the same for you. If you face any errors, please drop them in the comment section below!
Accessing the Recording Files
To access the video files from recording., go to:
~/.jitsi-meet-cfg/jibri/recordings.
Alternatively, you can customize the location of video storage from config Jibri.

If you followed the post ,your recording should be working well on the server. Else, let us know below what errors you might be facing so we can help you fix them. At this point, the moderators can start recordings when a conference begins.
Hope you liked this article and it was able to help you fix Jibri Docker “Recording Unavailable” error. Hit the like button if you learned something new and re-blog the post if your friends might find it useful.
Don’t forget to read more of our articles, such as How To Run Jitsi With Docker? and much more tech-savvy ones on topics like MySQL databases and Python Integration of CRUD operations, etc. Stay safe, stay healthy, and keep coming back to our blog for more amazing content in the future.


