Categories
AI & Emerging Technology DevOps & Cloud Infrastructure

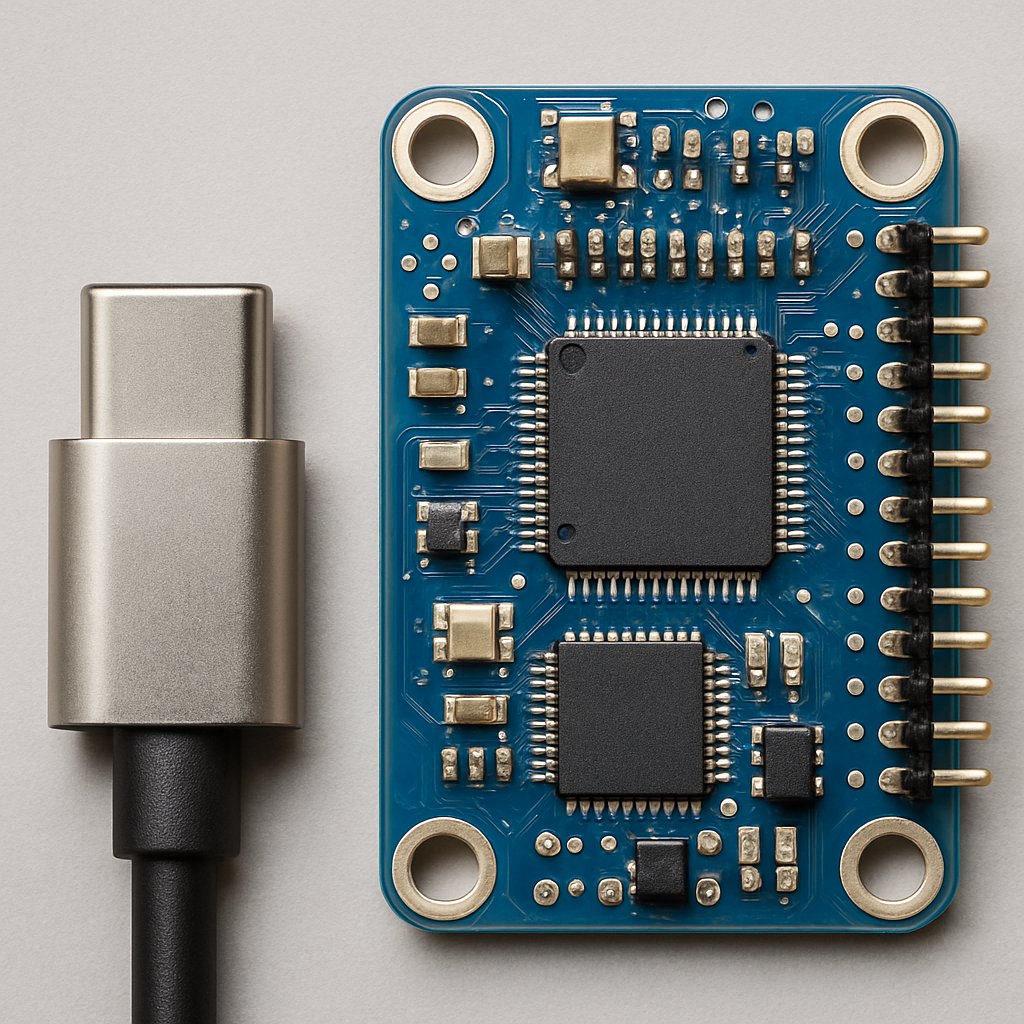
AngstromIO Devboard: The Compact Solution for Embedded Intelligence

If you need to embed programmable logic or sensing into spaces too tight for traditional devboards, the AngstromIO delivers a uniquely compact solution. Barely longer than a USB-C connector, it brings real MCU power and I/O to form factors once reserved for passive accessories—without sacrificing open-source flexibility or standard toolchains.

Key Takeaways:

  • The AngstromIO devboard is based on the Attiny1616 MCU and breaks out 2 GPIOs plus I2C lines, all within a PCB scarcely longer than a USB-C plug
  • Dual CH340 interface enables both UPDI programming and serial debugging with a single, compact adapter
  • Designed for rapid prototyping and seamless integration in USB-C form factors, ideal for IoT, edge computing, and embedded accessory applications
  • Open source hardware; all design files and documentation are available on GitHub
  • Trade-offs include minimal I/O, no wireless, and challenging manual assembly due to small size—verify your use case before committing

Overview: What Is the AngstromIO Devboard?

The AngstromIO devboard is an open-source development board built around the Attiny1616 microcontroller. Its defining feature is its ultra-compact PCB, which is designed to fit within the physical footprint of a USB-C connector—enabling you to embed microcontroller intelligence directly into cables, dongles, or accessories where even “tiny” boards like the XIAO or Tiny2040 won’t fit.Key features (as detailed by Conzit and Hazumi News):
FeatureSpecification
MCUMicrochip Attiny1616
I/O2 GPIO, I2C lines
Programming/DebugDual CH340 (UPDI programming + serial debugging)
PowerUSB-C VBUS
Open SourceDesign files on GitHub
Details about the exact physical dimensions are not confirmed in the primary sources and should be considered unverified. What is supported is its “barely longer than a USB-C connector” form factor, making it one of the smallest programmable boards available (source).Unlike most devboards designed for breadboards or standard sockets, AngstromIO’s unique value is its ability to vanish into form factors usually reserved for dumb cables or non-programmable adapters.

Real-World Usage: Capabilities and Applications

With its minimal but functional I/O (2 GPIO + I2C), the AngstromIO is positioned for scenarios where you need to inject intelligence, sensing, or simple actuation in ultra-tight physical spaces. Confirmed use cases include:
  • Embedding environmental or motion sensors directly inside a USB-C cable or plug
  • Prototyping secure authentication chips or device presence detection in custom accessories
  • Producing miniature, programmable test dongles for diagnostics or manufacturing
  • Rapid prototyping for IoT and edge applications where physical space is the primary constraint
The Attiny1616 MCU gives you a modern, low-power AVR platform with enough performance for real-time sampling, stateful control, or lightweight protocol handling—even supporting I2C sensors or basic serial communications.

Example: Integrating a Temperature Sensor Over I2C

The following code is from the original article for illustrative purposes.

// Pseudo-code for Attiny1616 reading temp sensor over I2C

#include <avr/io.h>
#include <util/delay.h>

#define I2C_ADDR 0x48 // TMP102 example address

void i2c_init() {
    // Set up TWI (I2C) peripheral, refer to MCU datasheet for register details
    // ... configuration ...
}

uint16_t read_temp() {
    // Send I2C read request to TMP102 and return sensor data
    // ... implementation ...
}

int main(void) {
    i2c_init();
    while (1) {
        uint16_t temp = read_temp();
        // Process or send temp over serial
        _delay_ms(1000);
    }
}
This example illustrates how you can perform meaningful sensor integration within the constraints of the available I/O. For production deployments, always consult the Attiny1616 datasheet for register-level configuration and I2C peripheral details.

Integration and Power Notes

The board draws power from USB-C VBUS, which simplifies integration and eliminates the need for batteries in most use cases. Stay within USB-C current specs for accessories—overdrawing can cause host power cutoffs or USB port resets. For best practices on USB-C PCB design, see PCBWay’s USB Type-C PCB design guide.

Deploying and Programming the AngstromIO Devboard

Programming and debugging the AngstromIO is streamlined by its dual CH340 interface. This supports both UPDI programming (required for new-generation AVR MCUs) and serial communication for runtime debugging—all with a single adapter. This reduces friction compared to devboards that require separate programmers or custom pogo-pin rigs.Development Workflow:
  1. Connect the AngstromIO to your host using the dual CH340 programming board (schematics and wiring are in the official repo).
  2. Flash firmware using pyupdi or Microchip’s MPLAB tools.
    Example pyupdi command (as found in the source):
pyupdi -d attiny1616 -c /dev/ttyUSB0 -b 115200 -f main.hex -v
  • -d attiny1616: Target device
  • -c /dev/ttyUSB0: Serial port for CH340
  • -b 115200: Baud rate
  • -f main.hex: Compiled firmware
  • -v: Verbose output
  1. To monitor serial output (if your firmware implements it), use a terminal like:
screen /dev/ttyUSB0 9600
Refer to the AngstromIO GitHub repository for up-to-date documentation, schematics, and advanced workflow tips.

Firmware Example: Blinking an LED

The following code is from the original article for illustrative purposes.

#define F_CPU 20000000UL
#include <avr/io.h>
#include <util/delay.h>

int main(void) {
    PORTA.DIRSET = PIN4_bm; // Set PA4 as output
    while (1) {
        PORTA.OUTTGL = PIN4_bm; // Toggle LED
        _delay_ms(500);
    }
}
This code is valid for the Attiny1616’s register conventions and demonstrates a minimal proof-of-life test for deployment validation.

Considerations and Trade-offs

AngstromIO’s radical miniaturization comes with significant constraints. Here’s what you need to know before choosing it for your project:
  • Limited I/O: Only 2 GPIOs and I2C lines are accessible. For anything more complex, you’ll need to use I2C expanders or protocol bridges—at the cost of increased software and hardware complexity.
  • No Built-In Wireless: There’s no native WiFi or BLE. If you need wireless, you’ll have to add an external module, which may eliminate the space advantage.
  • Manual Assembly: Soldering at this scale, especially around USB-C’s tight contacts and shield, can be tedious and may require reflow tools or magnification.
  • Compute/RAM Constraints: The Attiny1616 is capable for edge tasks, but nowhere near ARM Cortex-M or ESP32-class MCUs in terms of memory or performance. Plan your firmware accordingly.
BoardForm FactorMCUKey Features
AngstromIOUSB-C plug-sized (exact dimensions unverified)Attiny16162 GPIO, I2C, UPDI+Serial, ultra-compact
Pimoroni Tiny2040USB plug-sizedRP2040More GPIO, USB device/host, more RAM
Seeed XIAO series~20mm x 17.5mmARM Cortex-M0+/ESP32More pins, some models with BLE/WiFi
No Frills PCBBreadboard adapterN/AUSB-C power delivery only (not programmable)
Always select a board that matches your space, I/O, and connectivity requirements. If you need more pins or wireless, alternatives like the Tiny2040 or XIAO may be better, though at the cost of a larger footprint.

Troubleshooting and Pro Tips

Developers working with the AngstromIO devboard report several real-world issues:
  • Programming Failures: Ensure your CH340 drivers are installed and the board is correctly seated. If pyupdi fails, try a lower baud rate or another USB port.
  • USB-C Orientation: Some host devices may only provide power in one orientation. Confirm both sides work if your application requires reversible use.
  • Overcurrent Issues: Drawing too much current from VBUS can cause the host to disable the port. Always measure inrush and steady-state current before deployment.
  • Firmware Bricking: With minimal I/O, it’s easy to lock yourself out with a bad flash. Implement failsafes (e.g., a long GPIO hold to trigger a bootloader) to allow recovery.
Pro Tip: Prototype your firmware and logic on a breadboard-friendly devboard first. Once validated, port your code to the AngstromIO for final form-factor integration—this reduces risk and speeds up debugging.

Conclusion and Next Steps

The AngstromIO devboard demonstrates that serious programmable capability can be embedded into spaces previously off-limits to microcontrollers. If your application demands a board that disappears inside a USB-C plug and you can work within its I/O constraints, AngstromIO is a strong contender. Start with the official hardware repo for schematics and instructions.To deepen your embedded systems expertise, consider reading about real-time OSINT dashboard analysis and cross-platform embedded development with MonoGame for broader context on production deployment and integration.For USB-C PCB design best practices, refer to PCBWay’s detailed guidelines.

Sources and References

This article was researched using a combination of primary and supplementary sources:

Supplementary References

These sources provide additional context, definitions, and background information to help clarify concepts mentioned in the primary source.

Critical Analysis

Sources providing balanced perspectives, limitations, and alternative viewpoints.