How to Make a Nintendo 64 Game in 2026
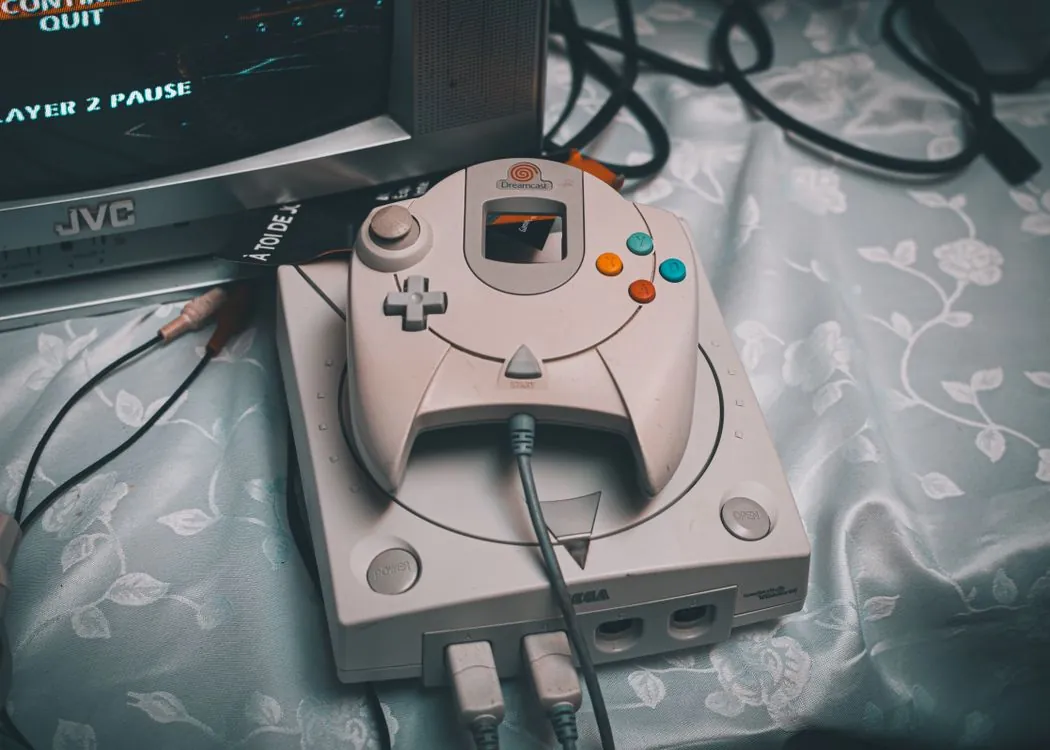
The N64 hardware remains a viable target for new game development three decades after launch.
The Nintendo 64 launched in Japan on June 23, 1996, with Super Mario 64 and Pilotwings 64, and reached North America on September 29, 1996. That makes 2026 the console’s 30th anniversary year. Three decades later, the homebrew scene around it is producing new games, new tools, and new documentation at a pace that would have seemed improbable even ten years ago. The open-source n64dev GitHub organization alone hosts a cycle-accurate emulator with 842 stars and 79 forks, a model converter for building hardware-optimized display lists, and a body of reverse-engineering documentation that started accumulating under CVS in 2005. The tools are free, hardware is cheap, and knowledge is public. That combination makes the N64 one of the most accessible retro platforms for new game development in 2026.
Why Build for a 30-Year-Old Console in 2026
The Nintendo 64 launched in Japan on June 23, 1996, with Super Mario 64 and Pilotwings 64, and reached North America on September 29, 1996. The console shipped with a MIPS R4300i CPU running at 93.75 MHz, a Reality Co-Processor (RCP) that combined the Reality Signal Processor (RSP) and Reality Display Processor (RDP) on a single chip, 4 MB of Rambus RDRAM (expandable to 8 MB with the Expansion Pak), and a cartridge-based storage system. In 1996, this architecture was exotic and difficult to develop for. In 2026, the same hardware is a fixed, fully documented target with three decades of accumulated community knowledge.
That predictability is what makes the platform attractive to developers in 2026. There is no SDK churn, no platform deprecation, no forced migration to a new rendering API. The constraints are known, and every byte of the memory map has been mapped, probed, and documented by someone in the community. When you write code for the N64, you are targeting hardware that will never change. Your game will run the same way in 2036 as it does today.
The economics matter too. A used N64 console costs well under $100 in most markets. Flash cartridges for loading homebrew ROMs are produced by several independent vendors and cost a fraction of what a modern console dev kit runs. The entire software toolchain is open source and runs on commodity hardware. Compare that with a modern console dev kit, which typically requires a licensing agreement and a four-figure hardware investment, and the N64 looks like the most accessible hardware target in retro game development.

There is also a creative argument that goes beyond nostalgia. The N64’s 4 MB of RAM and 4 KB texture cache force design decisions that modern engines abstract away entirely. Building for constrained hardware teaches memory layout, fixed-point math, and frame budgeting in a way that no amount of profiling on a modern GPU can replicate. Developers who cut their teeth on the N64 often describe it as a master class in engineering discipline: every byte counts, every cycle matters, and there is nowhere to hide inefficient code.
Understanding N64 Hardware: What You Are Actually Targeting
Before writing a single line of code, you need to understand what you are building for. The Nintendo 64 is a custom architecture designed by SGI in the mid-1990s, and its quirks define what is possible and what is not.
The CPU is a MIPS VR4300, a 64-bit RISC processor running at 93.75 MHz. It has a 5-stage pipeline, 16 KB of L1 instruction cache, 8 KB of L1 data cache, and no L2 cache. Floating-point operations are handled in software rather than hardware, which means any code that relies on floating-point math will run slowly. Fixed-point integer math is the standard approach for performance-critical paths.
The RCP is the graphics and audio coprocessor. It contains two sub-processors: the RSP, which handles vertex transformations, lighting, and audio processing, and the RDP, which handles rasterization and pixel operations. The RSP is a programmable vector processor with its own instruction set and 4 KB of instruction memory plus 4 KB of data memory. The RDP is a fixed-function rasterizer that handles texturing, blending, and anti-aliasing.
The memory subsystem is one of the most constrained aspects of the platform. The console has 4 MB of Rambus RDRAM (9 MB with the Expansion Pak, though only 8 MB is usable). The RCP can access this memory directly via DMA, but the CPU and RCP share the same bus, creating contention. The texture cache on the RDP is just 4 KB, which means a single 64×64 32-bit RGBA texture fills it completely. Texture management is a first-order design concern, not an afterthought.
The cartridge format is both a blessing and a constraint. Cartridges provide zero-latency random access to data, which means no seek times and no loading screens in the traditional sense. But cartridge ROM space was expensive in the 1990s and remains a consideration for homebrew developers using flash cartridges with finite capacity. The typical maximum ROM size for commercial games was 64 MB (512 Mbit), though most games shipped on much smaller cartridges.
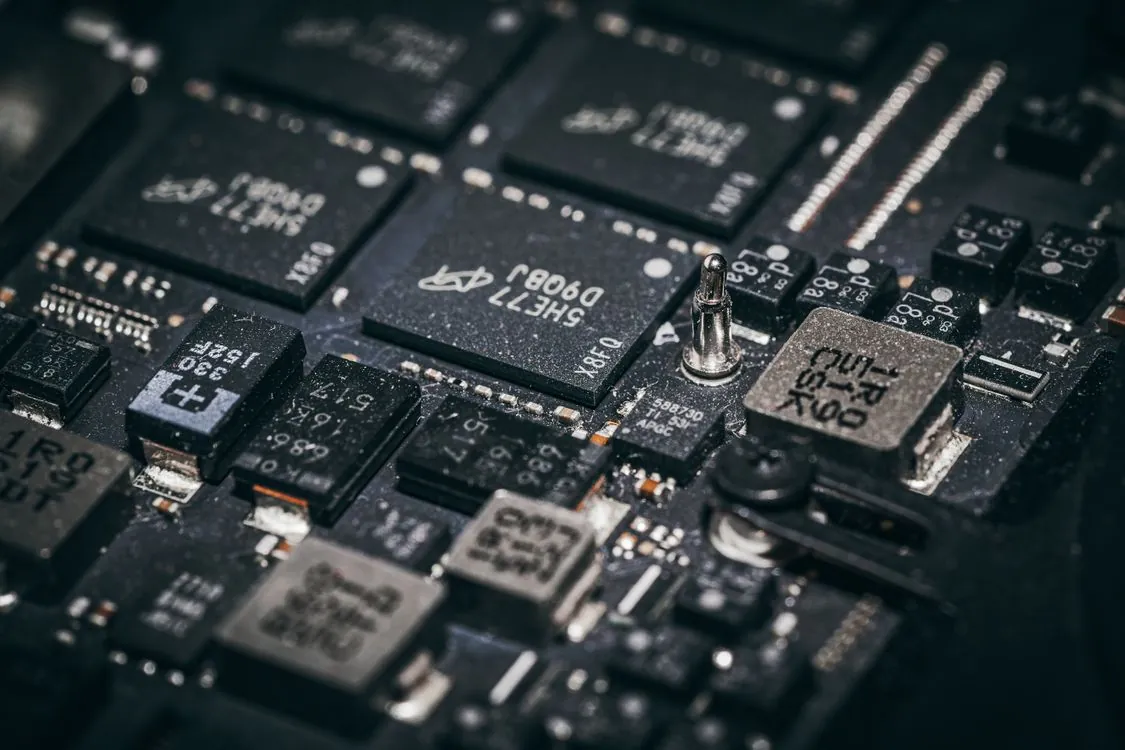
The N64’s custom SGI-designed architecture, with its MIPS CPU, RCP coprocessor, and shared memory bus, is fully documented by the community.
The 2026 Toolchain: What Works and Where to Find It
The official Nintendo 64 SDK has been dead for decades. It required a licensed dev kit, shipped with proprietary libraries, and is now both legally and technically inaccessible. The community replaced it with a fully open-source stack that covers every stage of development.
The n64dev repo is the historical hub of this ecosystem. Ryan Underwood started it under CVS in 2005, and contributors including hcs added neon64, gsuploader, alt-libn64, u64asm, and other tools. Mike Ryan ported u64asm and neon64’s build scripts to Linux, converted the repo from SVN to git in 2011, cleaned the history, and pushed it to GitHub in 2013. The repo now contains documentation, include headers under include/ultra64, C libraries, source code, and utility tools. It has 12 stars on the main repo, but its importance to the ecosystem far exceeds that number: it is the reference implementation that other projects build on and learn from.
The active ecosystem in 2026 splits into several distinct layers:
- Cross-compilers: GCC configured for the MIPS architecture. The typical target is
mips-linux-gnu-gccwith the-march=vr4300flag. Pre-built toolchains are available for Linux and macOS, and most developers use them rather than building from source. - C libraries: Libraries that abstract the N64’s graphics, audio, and input hardware. Instead of writing raw memory-mapped register accesses, you call functions that handle hardware interaction. The n64dev repo includes headers that define these interfaces.
- Asset converters: Tools like objn64, a Wavefront OBJ model converter that generates optimized N64 display lists directly from your modeling tool output. It has 25 stars and 2 forks, and is released under BSD-2-Clause. This is the bridge between modern 3D modeling tools and the N64’s display list format.
- Emulators: Debug-oriented emulators such as cen64, a cycle-accurate emulator that lets you step through CPU instructions, inspect RSP state, and catch timing bugs that faster emulators miss. It has 842 stars, 79 forks, and is released under BSD-3-Clause. Its last update was October 26, 2025.
- Project64: A free and open-source emulator for the Nintendo 64 and 64DD written in C++, available at pj64-emu.com. It is the most widely used emulator for casual playtesting, though its accuracy is lower than cycle-accurate options like cen64. For development, you want the accurate one for debugging and the fast one for quick iteration.
- Flash cartridges: Hardware devices that load a compiled ROM onto real N64 silicon. These are produced by independent vendors and are the standard way to run homebrew on original hardware.
The n64dev docs repo is a separate collection of TeX documents with 25 stars. It describes the memory map, RSP instruction set, RDP rasterization pipeline, and audio interface. These documents are the closest thing the community has to an official SDK manual, and they are the first place a new developer should look before writing any code.
Setting Up Your Development Environment
Getting a working N64 development environment in 2026 involves three steps: installing the cross-compiler toolchain, setting up your build system, and configuring at least one emulator for testing. The process is similar to setting up any embedded development environment, and most developers can go from zero to compiling a project in under an hour.
Start by installing the MIPS cross-compiler. Most Linux distributions package gcc-mips-linux-gnu or a similar package. On macOS, Homebrew provides the same. If your distribution does not include one, pre-built toolchains are available from community sources. The compiler should target the VR4300 CPU with the -march=vr4300 flag.
Next, clone the n64dev repositories. The main repo provides headers, libraries, and utility tools. The docs repo provides hardware reference. The objn64 repo provides the model converter. Keep these in a directory structure that your build system can reference.
For your build system, a simple Makefile is the most common approach. Here is a minimal example that compiles a single source file and produces a ROM image:
# Makefile for minimal N64 homebrew project
CC = mips-linux-gnu-gcc
CFLAGS = -O2 -march=vr4300 -I./include
LDFLAGS = -L./lib -ln64

SRC = main.c
OBJ = $(SRC:.c=.o)
ELF = game.elf
ROM = game.z64

all: $(ROM)

%.o: %.c
	$(CC) $(CFLAGS) -c $< -o $@

$(ELF): $(OBJ)
	$(CC) $(LDFLAGS) $^ -o $@

$(ROM): $(ELF)
	n64tool --rom $@ --header $<
A modern workstation running the N64 cross-compiler and emulator is all you need to start building.
The Development Workflow: From Source Code to Cartridge
A typical N64 homebrew project follows a pipeline that should feel familiar if you have ever built for an embedded target. You write game code in C, convert your assets into hardware-friendly formats, cross-compile to a ROM image, and then test that image on an emulator, FPGA core, or real hardware.
The first program every N64 developer writes is one that initializes the display and clears the framebuffer. Here is that program, using a library that abstracts the hardware:
Note: The following code is an illustrative example and has not been verified against official documentation. Please refer to the official docs for production-ready code.
#include <n64.h>

int main(void) {
 init_interrupts();
 timer_setup();

 display_init(640, 480, 32, DEPTH_32_BPP, 1);

 while (1) {
 display_clear(BLACK);
 display_flip();
 }

 return 0;
}
The display_init call configures video output for 640×480 resolution with 32-bit color depth. The display_clear function fills the back buffer with a solid color, and display_flip swaps the back buffer to the front and waits for vertical blank. This is the skeleton every N64 game starts from. Once this compiles and runs, you have a working display pipeline.
After the display works, the next milestone is controller input. The N64 controller uses a serial protocol that the hardware abstraction library handles, so reading input typically looks like polling a struct each frame. The controller has an analog stick, D-pad, A/B/C buttons, left and right shoulder buttons, and a Z trigger. The analog stick reports values in a signed 8-bit range (-128 to 127) for each axis.
Once input and display are working, you add your game loop: read input, update game state, render frame, repeat. The N64’s fixed 60 Hz (NTSC) or 50 Hz (PAL) refresh rate means you have either 16.67 ms or 20 ms per frame. Missing the deadline means frame drops, so profiling and optimization start early.
The build system produces a ROM image. The typical targets are a .n64 bytecode file, a raw .bin, or a cartridge format like .z64. Build scripts on the n64dev project handle conversion from ELF to ROM format, so you rarely touch the byte layout by hand. The n64tool utility wraps the ELF binary into a cartridge image with the correct header that the N64’s boot ROM expects.
The Asset Pipeline: Models, Textures, and Audio
For 3D content, the asset pipeline is where most of the real work happens. Modern 3D modeling tools produce data in formats the N64 cannot understand directly. You need a conversion layer that translates modern formats into the display lists, texture formats, and audio samples the hardware expects.
Models exported from Blender or another modeling tool as Wavefront OBJ files pass through objn64, which converts them into optimized display lists. The converter handles vertex packing, normal encoding, and texture coordinate generation so the result runs efficiently on the N64’s RSP. A display list is a sequence of commands that the RSP and RDP execute to draw geometry; it is the N64 equivalent of a draw call, but at a much lower level.
Here is a representative build pipeline for a simple textured mesh:
Note: The following code is an illustrative example and has not been verified against official documentation. Please refer to the official docs for production-ready code.
# Convert Blender-exported OBJ model to N64 display list
# The --format flag selects 32-bit vertex precision
objn64 --input ship.obj --output ship.dl --format 32bit

# Convert PNG texture to N64 CI8 (8-bit color-indexed) format
# CI8 uses a 256-color palette, saving texture cache space
n64tex --input hull.png --output hull.ci8 --palette hull.pal

# Compile game and link in converted assets
mips-linux-gnu-gcc -O2 -march=vr4300 -o game.elf \
 main.c ship.dl hull.ci8 hull.pal

# Wrap ELF into cartridge ROM image
n64tool --rom game.z64 --header game.elf
# Note: n64tex is a representative utility; exact tool names
# and flags vary by distribution. Check your toolchain docs.
The -march=vr4300 flag targets the N64’s VR4300 CPU core. The -O2 flag enables optimization, which is important because the VR4300’s software floating-point implementation benefits significantly from compiler optimizations. The n64tool utility wraps the ELF binary into a cartridge image with the correct boot header. Exact flag names and tool names vary by toolchain distribution; always check the documentation that ships with your specific toolchain.
Texture formats on the N64 deserve special attention because the 4 KB texture cache is the single tightest constraint in the graphics pipeline. The console supports several texture formats:
RGBA 32-bit: Full color with alpha. A single 64×64 texture fills the entire cache, so use it sparingly for UI elements or key sprites.
- RGBA 16-bit: Reduced color precision. A 64×64 texture uses half the cache. Good for most game textures.
- CI8 (Color-Indexed 8-bit): 256 colors from a palette. A 64×64 texture uses 4 KB of texture memory plus a small palette. The most cache-efficient option for textures that do not need the full color range.
- CI4 (Color-Indexed 4-bit): 16 colors from a palette. Half the size of CI8. Useful for low-color textures like fonts or UI elements.
- IA (Intensity-Alpha): Grayscale with alpha. Efficient for shadow maps, light maps, and decals.
Audio on the N64 is handled by the RSP running a microcode program. The console has no dedicated sound chip; instead, the RSP processes audio samples and feeds them to a DAC. The standard approach in homebrew is to use a pre-built audio library that handles sample playback, mixing, and buffering. Audio samples are typically stored as 16-bit PCM at sample rates between 11 kHz and 44.1 kHz, with lower rates used to conserve cartridge space and RSP cycles.
Reverse Engineering: The Foundation of Modern N64 Homebrew
Nintendo 64 reverse engineering is the backbone of the entire homebrew ecosystem in 2026. Every open-source library, every accurate emulator, and every flash cartridge firmware traces back to someone who disassembled the console’s firmware or a commercial game to understand how the hardware actually behaves.
The n64dev docs repo is a collection of TeX documents that describe the memory map, RSP instruction set, RDP rasterization pipeline, and audio interface. These documents are the product of years of reverse engineering work. They are the closest thing the community has to an official SDK manual, and they are the first place a new developer should look before writing any code. Topics covered include:
- The RSP microcode format and instruction set, including vector operations
- The RDP command format and rasterization rules
- The memory map, including RDRAM layout, RCP registers, and PI (Peripheral Interface) address space
- The controller interface protocol and data format
- The PIF (Peripheral Interface Firmware) boot sequence
- The cartridge header format and CIC (security chip) behavior
The reverse engineering effort extends beyond documentation. Disassemblers and binary analysis tools let developers take commercial ROMs apart to see how original developers solved specific problems. The N64’s fixed hardware means there is usually one efficient way to do any given task, and original games often found it. Studying how Super Mario 64 manages its vertex buffers or how GoldenEye 007 handles its level streaming is a legitimate and legal way to learn the platform, provided you do not copy proprietary code. The community has also produced clean-room reimplementations of key system components, which provide reference code that is safe to study and adapt.
The community also maintains detailed hardware documentation for every peripheral: the controller, Controller Pak (memory card), Rumble Pak, Transfer Pak (for Game Boy connectivity), and the 64DD disk drive. In 2026, all of these interfaces are documented well enough that a competent developer can write drivers for them from public documents alone.
Testing on Emulators, FPGA Cores, and Real Hardware
Every N64 developer needs at least two test targets, and most experienced developers use three. The emulator is where you iterate fast. The FPGA core is where you catch timing bugs. The real console is where you confirm it actually works. Skipping any layer of testing introduces risk.
| Test target | Strengths | Weaknesses | Best for |
|---|---|---|---|
| Project64 | Fast iteration, free, widely used, good plugin support | Lower accuracy; some homebrew behaves differently than on hardware | Quick iteration and casual testing |
| cen64 | Cycle-accurate CPU and RSP emulation, 842 stars on GitHub, BSD-3-Clause license | Slower execution; fewer convenience features than Project64 | Debugging timing-sensitive code and RSP synchronization |
| MiSTer FPGA core | Near-original hardware timing without owning a physical console | Requires FPGA hardware investment; the core is still under active development | Verifying frame timing, audio sync, and bus contention behavior |
| Original console + flash cartridge | Ground truth; catches everything that emulators and FPGA cores miss | Slowest iteration loop; requires physical hardware | Final validation before release |
The common advice in the community is to develop on Project64 for speed, debug on cen64 for accuracy, validate on the MiSTer FPGA core for timing, and do a final pass on real hardware before releasing. Skipping the FPGA step means you find timing bugs late in the process. Skipping the real-hardware step means you ship something that may not work on a genuine console at all. The differences between emulators and real hardware are subtle (a missing cycle here, slightly different RDP rounding behavior there), but they compound into visible artifacts that players notice.
Common Pitfalls and How to Avoid Them
The N64’s constraints create a predictable set of failure modes that every new developer hits. Knowing them in advance saves weeks of debugging. Here are four of the most common pitfalls and how to avoid them.
Texture memory exhaustion. The N64’s texture cache is 4 KB. Even a modest scene with a few distinct 64×64 RGBA32 textures will overflow it on the first frame. The fix is to use the smallest color depth that works for each texture, reuse textures across multiple objects wherever possible, and rely on the RDP’s color combiner for effects like tinting and blending instead of baking those effects into texture data. Plan your texture budget before you start modeling, not after.
CPU-bound game logic. The VR4300 runs at 93.75 MHz and handles floating-point math in software. A naive collision detection system or per-vertex lighting loop written with floats will eat the entire 16.67 ms frame budget before you draw a single triangle. Profile early and keep hot loops in fixed-point integer math. The VR4300’s integer multiply and divide are fast; its floating-point emulation is not.
RSP synchronization bugs. The RSP runs in parallel with the CPU, and getting synchronization wrong produces flickering geometry, corrupted display lists, or hangs. The CPU sends display lists to the RSP via DMA, and the RSP processes them asynchronously. If the CPU modifies a display list while the RSP is still reading it, the result is undefined. Cycle-accurate emulators catch these bugs; fast emulators like Project64 often do not, because their timing model is coarser.
Emulator-only development. Code that runs perfectly in Project64 can fail on real hardware because the emulator’s approximation of RDP rasterization rules differs from actual silicon. The RDP’s texture sampling, blending modes, and anti-aliasing have edge cases that emulators handle differently. Always validate on an FPGA core or real console before calling a build done. This is not optional; it is the difference between a game that works and one that glitches.
The Community and Where to Find Help
The N64 homebrew community in 2026 is small but active. The primary hubs are the n64dev GitHub organization for code and documentation, the n64dev blog for project updates and technical write-ups, and various forums and Discord servers where developers share progress and help each other debug.
The n64dev organization on GitHub has five public repositories and a small group of contributors including mikeryan, hcs64, and sp1187.
When you get stuck (and you will), the community’s documentation is the first place to look. The docs repo covers the hardware in detail. The source code of tools and libraries is well-commented and is reference implementations. And the broader retro development community has decades of archived forum posts and wiki pages covering specific problems and their solutions.
The community’s culture values self-sufficiency and hardware-level understanding. Before asking a question, read the relevant documentation and try to solve the problem yourself. When you do ask, include specific details: what you tried, what you expected, what actually happened, and what emulator or hardware you tested on. Questions that show you have done your homework get answered quickly.
What to Watch Through 2027
The N64 homebrew scene in 2026 is in healthy middle age. The core toolchain is stable. The documentation is complete enough for serious development. The emulator ecosystem covers a range from fast casual testing (Project64) to cycle-accurate debugging (cen64, 842 stars). And the FPGA implementation on MiSTer provides a hardware-accurate test target without requiring a physical console.
The main open question is how much the community will invest in higher-level tooling. Right now, developing for the N64 means writing C, managing memory by hand, and converting assets through command-line tools. A scene editor, visual level designer, or scripting language that compiles to N64 display lists would lower the barrier significantly. Some developers are working on these, but none have reached a level of maturity where they can replace the hand-written C workflow for a full game.
The hardware side continues to evolve. FPGA implementations improve in accuracy with each core update. Flash cartridge hardware gets cheaper and more capable each year. Both trends lower the barrier for new developers and extend the practical life of the platform. The N64 will still be a viable development target in 2036, and games built today will still run on whatever emulators and FPGA cores exist then.
If you want to build for the N64 in 2026, the path is clear. Clone the n64dev repositories, read the docs, set up the cross-compiler, and write your first framebuffer-clearing program this weekend. Then add controller input, add a triangle, add a texture. Build something small, test it on real hardware, and share it with the community. The groundwork is done, three decades of it. What you build on top of it is up to you.
Key Takeaways
- The N64 homebrew ecosystem is fully open source: cross-compilers, C libraries, asset converters, and emulators are all free and community-maintained on the n64dev GitHub organization.
- cen64 provides cycle-accurate emulation (842 stars, 79 forks, BSD-3-Clause) for debugging timing-sensitive code, while Project64 offers fast iteration for casual testing.
- objn64 converts Wavefront OBJ models to optimized N64 display lists, bridging modern 3D tools with the console’s graphics pipeline.
- The 4 KB texture cache is the tightest constraint in the graphics pipeline; texture format selection (CI8, CI4, IA) is a first-order design decision.
- Development follows a standard embedded pipeline: write C, convert assets, cross-compile to ROM, test on emulator, validate on FPGA, and confirm on real hardware.
- Reverse engineering documentation covers the memory map, RSP instruction set, RDP rasterization, and all peripheral interfaces, everything needed to write drivers from scratch.
- Test on at least two targets, and always do a final pass on real hardware before releasing a game. Emulator-only development produces games that fail on real consoles.
This post is part of our ongoing coverage of software development across platforms. For more on related engineering topics, see our DevOps Security in 2026 guide and SwiftUI in 2026 analysis.
Related Reading
More in-depth coverage from this blog on closely related topics:
- DeepMind 2026 Restructuring: Leadership
- DevOps Security in 2026: A Practical Guide
- AI Inference Cost Trends in 2026
- SwiftUI in 2026: Progress and Remaining Gaps
- Jeff Dean’s Departure: Discovery Loop’s
Sources and References
Sources cited while researching and writing this article:
Rafael
Born with the collective knowledge of the internet and the writing style of nobody in particular. Still learning what "touching grass" means. I am Just Rafael...